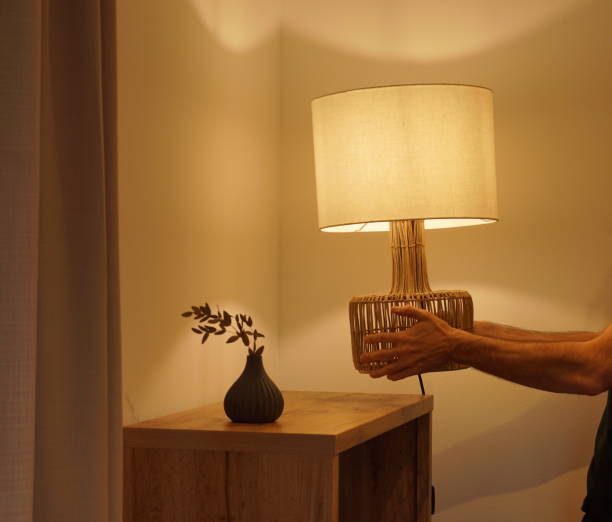
Lampshades are more than just functional covers for light bulbs; they are pivotal design elements that define the ambiance, style, and light distribution of a room. Whether you are refurbishing an antique find or updating a modern floor lamp, understanding the technical nuances of lampshade construction is essential. This guide provides a comprehensive analysis of the mechanical interfaces and procedural steps required to successfully upgrade your lighting fixtures, ensuring both safety and visual harmony.
Comprehensive Analysis of Lampshade Connector Types
The most critical factor in choosing a replacement lampshade is identifying the “fitter”—the metal framework that connects the shade to the lamp base. A mismatch here will render the shade unusable without additional adapters. Fitters are categorized based on how they interact with the bulb socket and the lamp’s structural hardware.
The Spider Fitter and Harp System
The Spider Fitter is the most common interface for American-style table and floor lamps. It consists of a wheel-like structure with spokes (the “spider”) that radiate from a small central ring. This ring sits atop a Harp—a U-shaped metal wire that attaches to the lamp base and surrounds the bulb. The assembly is secured by a decorative Finial, which screws onto the threaded post at the top of the harp.
- Mechanism: The shade rests on the shoulders of the harp, and the finial locks it in place.
- Best Use: Large table lamps and traditional floor lamps where stability is paramount.
- Adjustment: By changing the height of the harp, you can vertically adjust the position of the shade to hide the internal socket.
Uno Fitters: Threaded and Slip Variations
Uno fitters are distinctive because they do not require a harp. Instead, the fitter is built directly into the lampshade’s wire frame. These are typically found on smaller table lamps, bedside lamps, or downward-facing floor lamps.
- Threaded Uno Fitters: These feature a large central ring with internal threads that screw directly onto the lamp socket. This design is common in “bridge” lamps where the bulb hangs downward.
- Slip Uno Fitters: These rings do not have threads; they simply slide over the socket and are held in place by the bulb or a plastic retention ring.
Clip-on Fitters for Specialized Lighting
Clip-on fitters are the simplest interface, designed for lightweight shades. These fitters feature wire loops that expand to “grip” the glass of the light bulb itself. They are categorized into two sub-types:
- Round Bulb Clips: Designed specifically for standard A19 incandescent or LED bulbs.
- Candelabra Clips: Smaller clips designed to fit the narrow, flame-shaped bulbs used in chandeliers and small accent lamps.
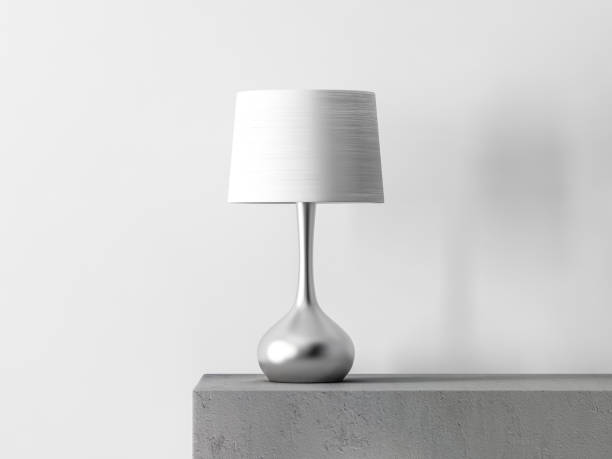
Step-by-Step Guide to Professional Lampshade Replacement
Replacing a lampshade involves more than just swapping the cover. It requires a systematic approach to ensure the electrical components remain undisturbed and the new shade is perfectly leveled. Follow these professional steps for a flawless installation.
Phase 1: Safety and Deconstruction
Before beginning any work, unplug the lamp from the wall outlet. Even if the switch is off, working near the socket carries a risk of electrical shock if the lamp is energized. Once power is disconnected, remove the finial (if using a spider fitter) by rotating it counter-clockwise. Carefully lift the old shade off the harp or socket. This is an ideal time to inspect the socket for any signs of heat damage or frayed wiring.
Phase 2: Component Inspection and Cleaning
If your lamp uses a harp, check that it is seated firmly in the “saddle” (the metal bracket below the socket). If the harp is bent or rusty, consider replacing it along with the shade. Use a microfiber cloth to dust the bulb and the base. A clean bulb ensures maximum light transmission and prevents the “burnt dust” smell common in older fixtures.
Phase 3: Installing the New Shade
Align the new shade’s fitter with the mounting point. For a Spider fitter, place the central ring over the harp’s threaded stud. For an Uno fitter, ensure the ring is centered over the socket before tightening. If you are using a clip-on shade, gently spread the wire clips and slide them over the bulb, ensuring the shade is perfectly vertical. Pro Tip: Always use a level or a visual reference point (like a door frame) to ensure the shade isn’t tilting to one side.
Technical Specifications for Lampshade Sizing
Selecting the wrong size shade is a common mistake that can make a lamp look top-heavy or disproportionately small. To achieve a professional look, adhere to the following dimensional guidelines:
| Dimension | Standard Guideline | Purpose |
|---|---|---|
| Shade Height | Approximately 60-70% of the lamp base height. | Maintains vertical balance and hides the hardware. |
| Shade Width | The bottom diameter should be 2x the width of the widest part of the base. | Ensures the lamp doesn’t look “skinny” or unstable. |
| Bulb Clearance | Minimum of 2-3 inches between the bulb and the shade material. | Prevents scorching or fire hazards from heat buildup. |
Material Considerations for Light Diffusion
Beyond fitters and sizes, the material of the shade dictates the quality of light. Linen and Cotton shades offer a soft, diffused glow suitable for general room lighting. Parchment or Paper shades provide a more directed, opaque light, often used for task lighting. For a modern aesthetic, Metal or Plastic shades can create dramatic “pools” of light by restricting lateral diffusion.
Advanced Troubleshooting: Adapters and Heat Safety
Sometimes, you may find a “perfect” shade that has the wrong fitter type. In these instances, fitter adapters can bridge the gap. For example, a “Clip-on to Spider” adapter allows you to use a spider shade on a lamp that doesn’t have a harp. However, always prioritize safety over aesthetics.
High-wattage incandescent bulbs generate significant heat. If you are upgrading to a smaller or more enclosed shade, you MUST switch to LED bulbs. LEDs operate at significantly lower temperatures, reducing the risk of yellowing the shade material or creating a fire hazard. Always check the maximum wattage rating printed on the lamp socket and never exceed it with the replacement shade in place.
Frequently Asked Questions (FAQ)
- Q1: Can I use a Spider fitter shade on a lamp that doesn’t have a harp?
- Yes, but you will need to install a harp and a saddle first. If the lamp base doesn’t support a saddle, you can purchase a “bulb-clip harp” which clips onto the bulb and provides a mounting point for the spider fitter and finial.
- Q2: Why does my new lampshade look yellow when I turn the light on?
- This is usually due to the “Color Temperature” of your bulb. Warm white bulbs (2700K) can make white shades look cream or yellow. For a crisp, white look, switch to a “Daylight” (5000K) or “Cool White” (4000K) LED bulb.
- Q3: How do I know if my Uno fitter is “Threaded” or “Slip”?
- Look at the inside of the large central ring. If you see grooves similar to those on a screw, it is a Threaded Uno. If the interior of the ring is smooth, it is a Slip Uno and likely requires a separate plastic nut to hold it against the socket.
- Q4: Is it safe to use a vintage shade on a modern lamp?
- Vintage shades can be used if the fitter matches. However, be cautious of old silk or paper that may have become brittle. Always use low-heat LED bulbs with vintage materials to prevent further degradation or fire risks.
- Q5: My lampshade is wobbly even after tightening the finial. How do I fix it?
- This usually happens if the harp is too thin for the fitter ring or if the finial threads are worn. Try adding a small rubber washer between the fitter ring and the finial to create a tighter seal and eliminate the wobble.
Reader boundary: This guide is for general editorial information only. Diving, marine-wildlife, environmental, lighting, electrical, appliance, plant-care, and home-installation topics should be checked against current standards, manufacturer instructions, local rules, and qualified professionals before practical use.